How to implement CI/CD for IaC in practice? — part 4: How to prepare the yaml pipeline for linting, validation, and pester testing of the Bicep code base.

This blog post will prepare an Azure pipeline that automates the deployment of infrastructure resources in Azure using Bicep files (the one we prepared in the previous article ). The pipeline will consist of several stages, each of which has one or more jobs, and each job has one or more steps.
- Lint stage: This stage performs linting of the Bicep code in the "main.bicep" file.
- Validate stage: This stage performs preflight validation of the Bicep file using an Azure Resource Manager Template Deployment task.
- Preview stage: This stage performs a what-if deployment preview of the changes that will be made to the Azure environment.
- Deploy stage: This stage deploys the Bicep file to the Azure environment and saves the deployment outputs into variables.
- SmokeTest stage: This stage performs smoke tests on the deployed resources using a PowerShell script, and NUnit test results are published.
Each stage runs in a virtual machine (VM) using the "ubuntu-latest" image. The pipeline uses several variables, including the default deployment location, resource group name, and environment type. The pipeline is triggered only when changes are made to the "main" branch and runs in batches.
Stage 1: Lint
We need to start by creating a new pipeline for our project. Navigate to the section of the pipeline and select the 'New pipeline' button on the top right. Next, choose the Azure Repos Git option, pick your repository, and select the blank pipeline. This will result in the creation of a new azure-pipeline.yml file. Proceed with the first stage, review the code, and commit.
trigger:
  batch: true
  branches:
    include:
    - main

pool:
  vmImage: ubuntu-latest

stages:

- stage: Lint
  jobs:
  - job: LintCode
    displayName: Lint code
    steps:
      - script: |
          az bicep build --file deploy/main.bicep
        name: LintBicepCode
displayName: Run Bicep linterYAML files are sensitive to indentation. If you type or paste this code, ensure your indentation is correct.
The first stage, "Lint," runs a linter on the Bicep file in the deploy directory to check for syntax errors or other issues.
Next, we can configure our linter. We need to add a new file bicepconfig.json
{
"analyzers": {
"core": {
"enabled": true,
"verbose": true,
"rules": {
"adminusername-should-not-be-literal": {
"level": "error"
},
"max-outputs": {
"level": "error"
},
"max-params": {
"level": "error"
},
"max-resources": {
"level": "error"
},
"max-variables": {
"level": "error"
},
"no-hardcoded-env-urls": {
"level": "error"
},
"no-unnecessary-dependson": {
"level": "error"
},
"no-unused-params": {
"level": "error"
},
"no-unused-vars": {
"level": "error"
},
"outputs-should-not-contain-secrets": {
"level": "error"
},
"prefer-interpolation": {
"level": "error"
},
"secure-parameter-default": {
"level": "error"
},
"simplify-interpolation": {
"level": "error"
},
"use-protectedsettings-for-commandtoexecute-secrets": {
"level": "error"
},
"use-stable-vm-image": {
"level": "error"
}
}
}
}
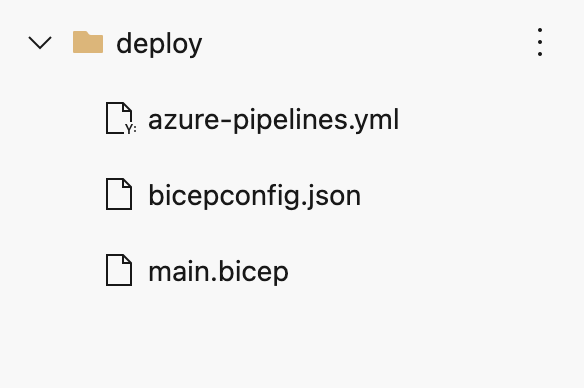
}Our repository should look like this.
Stage 2: Validate
 - stage: Validate
  jobs:
  - job: ValidateBicepCode
    displayName: Validate Bicep code
    steps:
      - task: AzureResourceManagerTemplateDeployment@3
        name: RunPreflightValidation
        displayName: Run preflight validation
        inputs:
          connectedServiceName: $(ServiceConnectionName)
          location: $(deploymentDefaultLocation)
          deploymentMode: Validation
          resourceGroupName: $(ResourceGroupName)
          csmFile: deploy/main.bicep
          overrideParameters: >
            -environmentType $(EnvironmentType)
This stage defines a single step that runs the preflight validation. Notice that this step includes a reference to your service connection because the preflight validation process requires communicating with Azure.
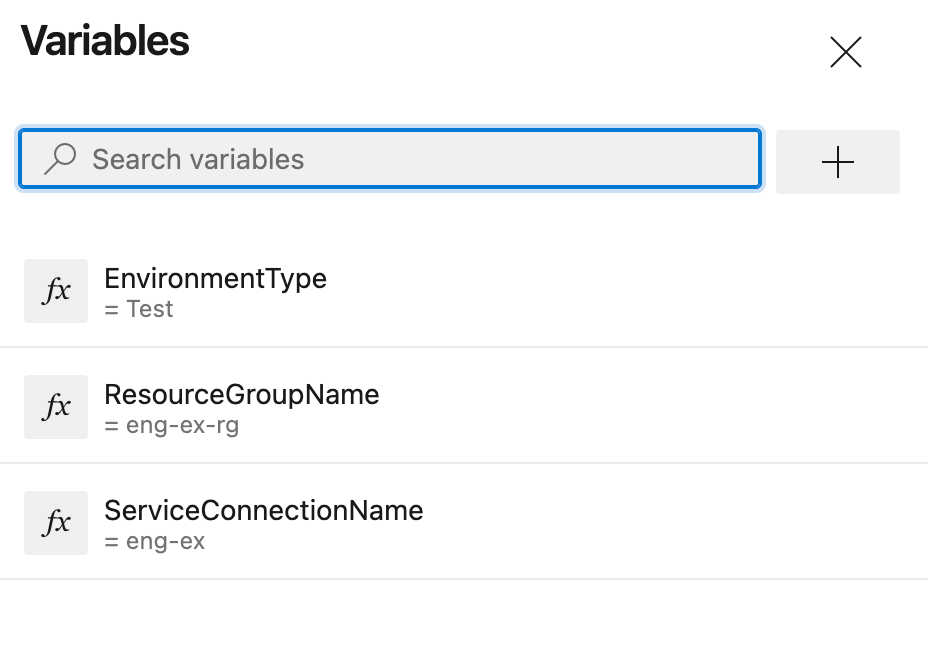
We need to add those variables to be accessible from the pipeline.

Click the 'Edit' edit button and next choose the variables section.

Next, Add three variables.
- ServiceConnectionName => choose the service connection that we have previously created
- ResourceGroupName => do the same for the resource group name
- EnvironmentType => for now, we should go with 'Test' value
Stage 3: Preview
- stage: Preview
  jobs:
  - job: PreviewAzureChanges
    displayName: Preview Azure changes
    steps:
      - task: AzureCLI@2
        name: RunWhatIf
        displayName: Run what-if
        inputs:
          azureSubscription: $(ServiceConnectionName)
          scriptType: 'bash'
          scriptLocation: 'inlineScript'
          inlineScript: |
            az deployment group what-if \
              --resource-group $(ResourceGroupName) \
              --template-file deploy/main.bicep \
              --parameters environmentType=$(EnvironmentType)
This code defines a stage in an Azure DevOps pipeline called "Preview". It contains a single job called "PreviewAzureChanges" which displays what changes will be made to the Azure environment before deploying. The task uses the Azure CLI@2 and is named "RunWhatIf". The Azure CLI task runs a what-if command, previewing deployment changes. The "azureSubscription" input specifies the Azure service connection to be used, and the "inlineScript" input specifies the script to be executed, which runs the what-if command. This script specifies the Azure resource group, the Bicep template file, and the environment type parameters.
Stage 4: Deploy
- stage: Deploy
  jobs:
  - deployment: DeployWebsite
    displayName: Deploy website
    environment: Website
    strategy:
      runOnce:
        deploy:
          steps:
            - checkout: self
            - task: AzureResourceManagerTemplateDeployment@3
              name: DeployBicepFile
              displayName: Deploy Bicep file
              inputs:
                connectedServiceName: $(ServiceConnectionName)
                deploymentName: $(Build.BuildNumber)
                location: $(deploymentDefaultLocation)
                resourceGroupName: $(ResourceGroupName)
                csmFile: deploy/main.bicep
                overrideParameters: >
                  -environmentType $(EnvironmentType)
                deploymentOutputs: deploymentOutputs

            - bash: |
                echo "##vso[task.setvariable variable=appServiceAppHostName;isOutput=true]$(echo $DEPLOYMENT_OUTPUTS | jq -r '.appServiceAppHostName.value')"
              name: SaveDeploymentOutputs
              displayName: Save deployment outputs into variables
              env:
                DEPLOYMENT_OUTPUTS: $(deploymentOutputs)
This code defines a stage named "Deploy" in a pipeline. The stage contains a single job named "DeployWebsite" with a display name of "Deploy website". The job is associated with an environment called a "Website".
The deployment strategy for the job is set to "runOnce", meaning it will only run once and will not automatically redeploy after each new build. The deployment process consists of several steps:
- Checking out the source code of the pipeline.
- Deploying a Bicep file (located at "deploy/main.bicep") to Azure using the Azure Resource Manager Template Deployment task. The deployment is connected to an Azure service connection specified by the variable $(ServiceConnectionName) and is deployed to a resource group specified by the variable $(ResourceGroupName).
- A bash script is run to save the deployment outputs as variables in the pipeline. The script parses the deployment outputs and saves the value of "appServiceAppHostName" into the variable "appServiceAppHostName".
We must navigate the pipeline section and click environments to create a new one. Next, click create new button o proceed with the name.
Stage 5: Smoke Test
we need to create a new file for our test cases. Lets co with 'Website.Tests.ps1'
Paste the below code in the new file.
param(
  [Parameter(Mandatory)]
  [ValidateNotNullOrEmpty()]
  [string] $HostName
)

Describe 'Website' {

    It 'Serves pages over HTTPS' {
      $request = [System.Net.WebRequest]::Create("https://$HostName/")
      $request.AllowAutoRedirect = $false
      $request.GetResponse().StatusCode |
        Should -Be 200 -Because "the website requires HTTPS"
    }

    It 'Does not serves pages over HTTP' {
      $request = [System.Net.WebRequest]::Create("http://$HostName/")
      $request.AllowAutoRedirect = $false
      $request.GetResponse().StatusCode |
        Should -BeGreaterOrEqual 300 -Because "HTTP is not secure"
    }

}
This code is a PowerShell script that validates the behavior of a website by testing its ability to serve pages over HTTPS and not over HTTP. The script takes an input parameter $HostName, which is the website hostname to be tested.
In the script, there are two test cases defined under the Describe Website block, which are:
- 'Serves pages over HTTP' This test case creates a web request using the "System.Net.WebRequest" object and the URL "https://$HostName/". The test case then checks the response's status code and uses the "Should -Be 200" statement to assert that the status code should be 200 (Success) because the website requires HTTPS. The "AllowAutoRedirect" property is false to prevent automatic redirection to another URL.
- 'Does not serve pages over HTTP' This test case creates a web request using the "System.Net.WebRequest" object and the URL "http://$HostName/". The test case then checks the response's status code and uses the "Should -BeGreaterOrEqual 300" statement to assert that the status code should be greater than or equal to 300 (redirection) because HTTP is not secure. The "AllowAutoRedirect" property is false to prevent automatic redirection to another URL.
Next, we can adjust our pipeline.
- stage: SmokeTest
  jobs:
  - job: SmokeTest
    displayName: Smoke test
    variables:
      appServiceAppHostName: $[ stageDependencies.Deploy.DeployWebsite.outputs['DeployWebsite.SaveDeploymentOutputs.appServiceAppHostName'] ]
    steps:
      - task: PowerShell@2
        name: RunSmokeTests
        displayName: Run smoke tests
        inputs:
          targetType: inline
          script: |
            $container = New-PesterContainer `
              -Path 'deploy/Website.Tests.ps1' `
              -Data @{ HostName = '$(appServiceAppHostName)' }
            Invoke-Pester `
              -Container $container `
              -CI

      - task: PublishTestResults@2
        name: PublishTestResults
        displayName: Publish test results
        condition: always()
        inputs:
          testResultsFormat: NUnit
          testResultsFiles: 'testResults.xml'
The code defines a stage "SmokeTest" in a pipeline. The stage has one job, also named "SmokeTest", with a display name of "Smoke test". The job has a variable called "appServiceAppHostName" which is assigned a value from the previous stage's output. The job has two steps:
- Running smoke tests using PowerShell task: The step runs a script that creates a Pester container using a file "deploy/Website.Tests.ps1" and passes a data object containing the hostname to the container. The script then invokes Pester in Continuous Integration (CI) mode.
- Publishing test results: The step is to publish the test results in NUnit format. The input file is "testResults.xml". The condition is set to "always()" meaning the step will always run regardless of the previous steps' status.
Summary
We now have 5 stages declared, configured lantern, and prepared test case for after deployment smoke test. ideally, our pipeline should go like this.

In reality, we will receive some errors regarding linting or test results. Also, a good idea is not to deploy anything into production environments before verification. Azure Pipelines allows linking deployments to settings, inheriting checks and approvals defined by environment owners. However, pipeline definitions should still be reviewed through established practices like pull request reviews on changes to the main branch. Service connections can also have checks and approvals, which affects the pipeline's ability to run preflight validation and what-if operations. To avoid this, a separate service connection with its service principal can be used for the what-if stage. The service principal for the preflight and validation stages should have a custom Azure role with minimum permissions.
In the last entry of this mini-series, we will address all the issues and refactor our code to be more modular.